blabbery blessings fabric family sewing: boys costume green halloween handmade lego ninja ninjago sewing
by Blabby
leave a comment
Happy Handmade Halloween!
We had a great Halloween party with the neighbors. Flat-bed trailer with hay, Thriller on the stereo, at least 20 kids and 1000′s of pieces of candy!
Here’s this year’s handmade costume. I took an XS ladies’ sweat suit from Old Navy, cut it way down and embellished. Introducing the Lego Ninjago Green Ninja - a little before and after action!
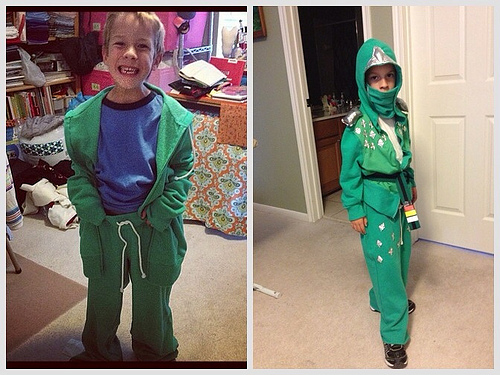
Hope your Halloween was awesome, too!
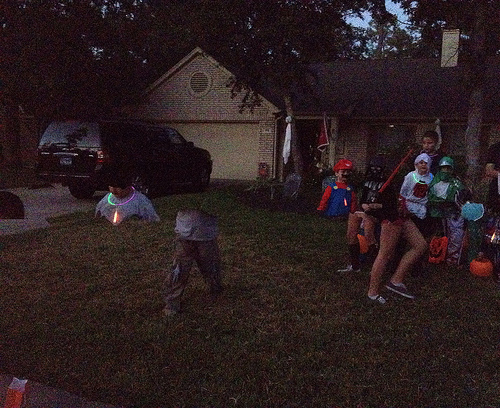
I also took this picture with my phone…no idea what happened, but it’s very creepy!
Back to school…for a few weeks now.
We’re finally hitting a groove around here. My boy has been in first grade for a few weeks now - our schedules are starting to mellow out and become common place. I’ve been working out! (Seriously, this is big news.) Not just working out, but working out 4 days a week with some consistency. I’m also drinking body by vi shakes - on to week two starting Monday, and I’ve lost 5 pounds. We’re not taking it too seriously - a shake for breakfast, a shake for lunch and then pretty much whatever we want for dinner. I know I should be doing a good, balanced meal for dinner, but we’re still working on that.
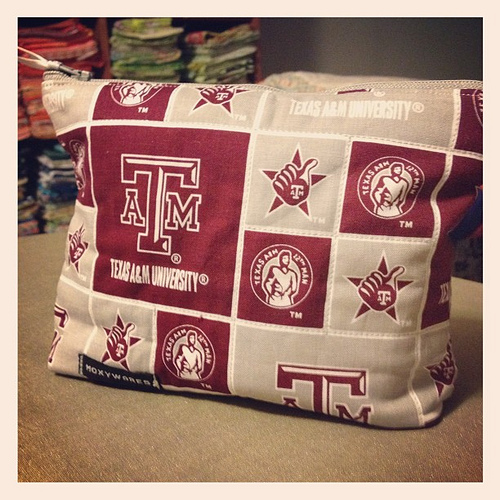
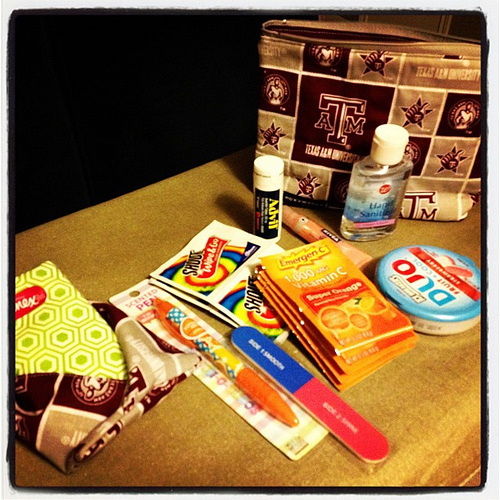
I’m sad to say that I didn’t sew a thing for about 4 months! And then, we had Meet the Teacher night and we found out that the new teacher is an Aggie - well, luckily, I already had some A&M fabric in my stash. The stash is SO out of control that there’s a chance I could sew something for any university in the country, but that’s a whole other topic. So anyway, we ventured to Walgreens - one of my favorite places to shop - and picked up everything our new teacher might need. An emergency kit, if you will. And I sewed her up a little pouch! My neighbor said I was buttering her up. To this, I’ll plead, “maybe.” But the teacher is adorable - her second year out of college, she seems to still be excited about her work and loving the kids, and I couldn’t have asked for a better situation. So here’s her Aggie emergency kit. I think she liked it :)
blabbery fabric flickr sewing: pillow case dress sewing for kids
by Blabby
3 comments
pillow case dresses and matching t’s
I got to do some sewing this weekend (thanks, honey!). My neighbor has four of the cutest kids you’ve ever seen - two boys, two girls. She asked me if I could make them some coordinating outfits for a picture, and mentioned pillow case dresses she’s seen all over the interwebs.
I looked all around at the MANY pillow case dress tutorials (what did we ever do before the internet?) and found two that I kind of squashed together. For the basic shape/pattern size, I used this one from prudentbaby.com. For the arm holes and the ruffle, I used this one from CraftSnob.com.
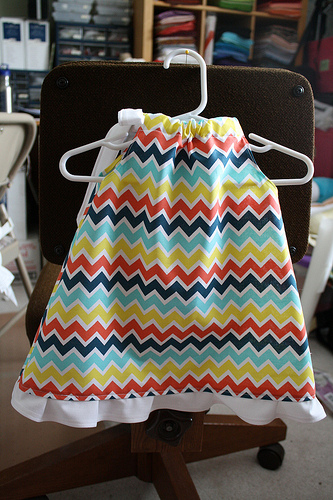
I actually ended up not doing the ruffle using her gathering technique, because I pulled too hard and snapped my thread mid-gather. So I ended up folding a quarter inch on my ruffle strip every two inches and pinning a lot.
I also went ahead and made my own tie string/double binding strip for all the dresses using 3″ by length-of-fabric (selvedge to selvedge) folding each long edge in, and folding the whole thing in half. This way, I could match my ruffle and tie strap without going to the fabric store. Not that that would be a hardship.
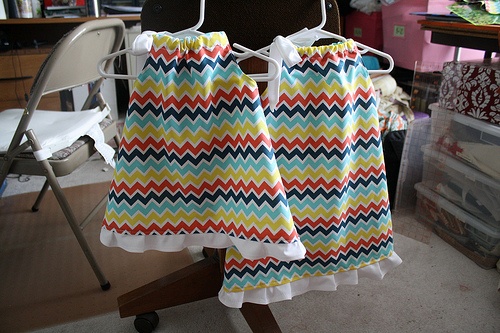
I have seen another gathering technique where you lay a piece of thread down on the length of whatever you’re sewing, and then sew a zig zag over it, creating a kind of casing for your gathering thread - that’s worked better for me personally in the past. Also, I’ve seen sewing machines that come with a gathering foot! That would be awesome.
Anyway, for the two sweet boys, I made t-shirts with tie appliques in the matching chevron fabrom. I got the template fro the ties from here at CrapIveMade.com.
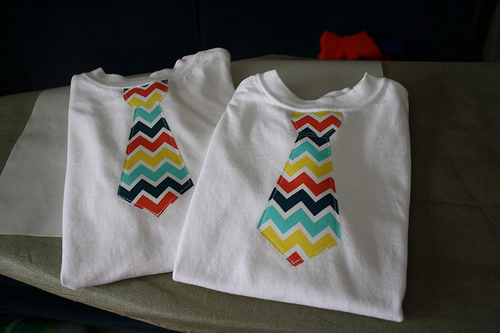
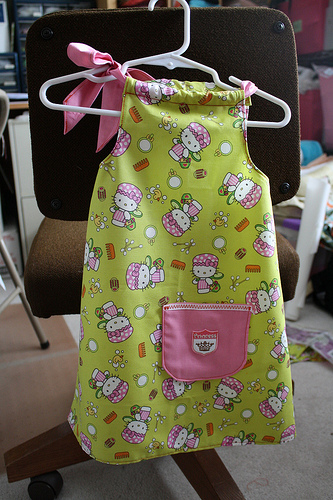
The whole deal, including my rough draft Hello Kitty dress (below), took about 5 hours - most of which was ironing and stiching seams (arm holes, dress bottoms, ruffle strips, binding piece for bows.) The t-shirts took about 15 minutes total.
Surfer Dude Quilt
Katie over at Katie’s Corner made this super cool Super Hero Quilt. So I started making my plan based on her photo.
Here are my initial sketches and measurements. I decided that I wanted the quilt to be about 60″x80″, and worked in from there.
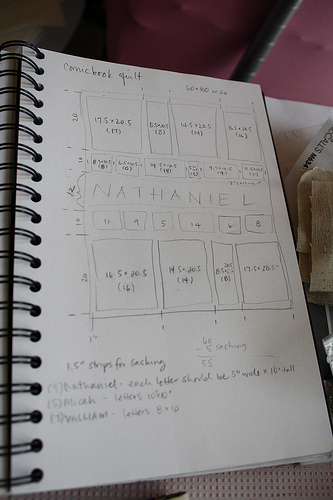
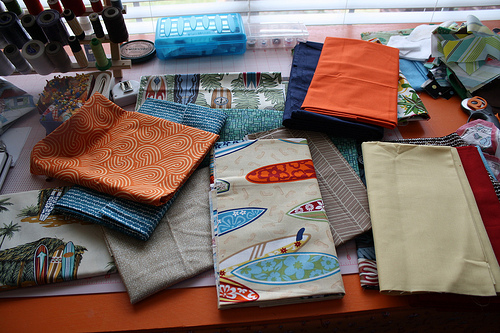
I knew I wanted to make one for each of my nephews with a surfer theme. Then, for the backs, I used their favorite team colors (FSU and UF). Here are the fabrics I picked out for the surfer side. I’ve been collecting surf-themed fabrics for a while, so I had everything I needed. I have some awesome hula girl fabric too, but I left that out because they’re still a little young.
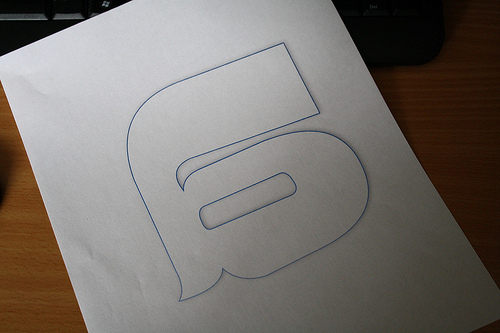
I pieced all the top and bottom strips, and next it was time to do the name applique. So I printed BIG letters in ‘mirror-image’ format on my printer.
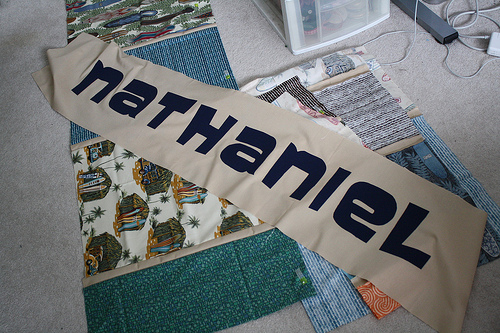
Then I traced them onto the paper side of Heat-n-Bond Lite. Then I cut each letter out and ironed the glue side to the back of my fabric. Then I cut them out from the fabric and peeled the paper backs off and glued them down to my kona khaki piece that would go into the quilt. I just kind of eye-balled the spacing.
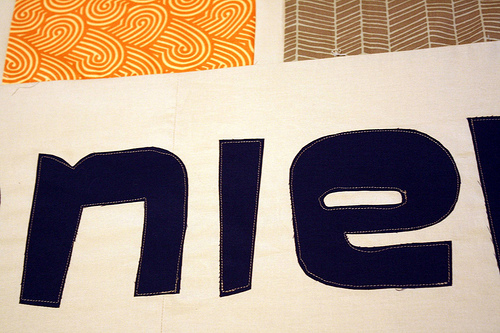
Then I just did a straight stitch around them about 1/4″ inside the edge. I tried a couple different stitches - zig zag, satin, but they didn’t look that great. The straight stitch looked great and was fast.
And here’s the completed top!
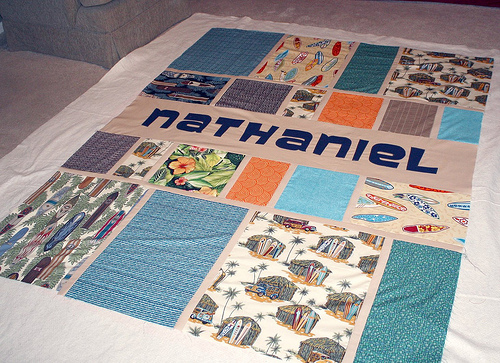
The backs are all done and Nathaniel’s is sandwiched. I’ll post some pics of the completed quilts soon. These were supposed to be Christmas gifts, but now they’re early January gifts :)
blabbery moxywares quilting quilting patterns sewing: boo davis dare to be square deer modern
by Blabby
leave a comment
Deer Quilt Complete
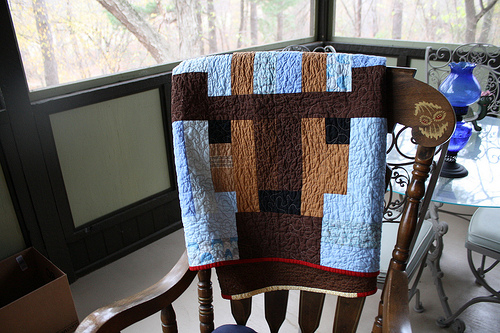
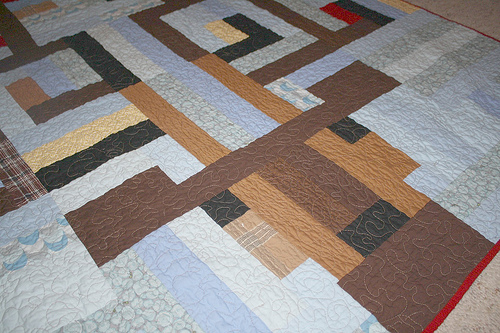
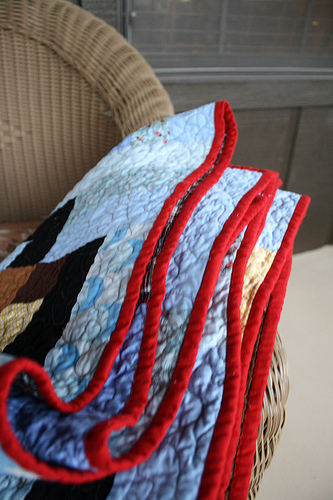
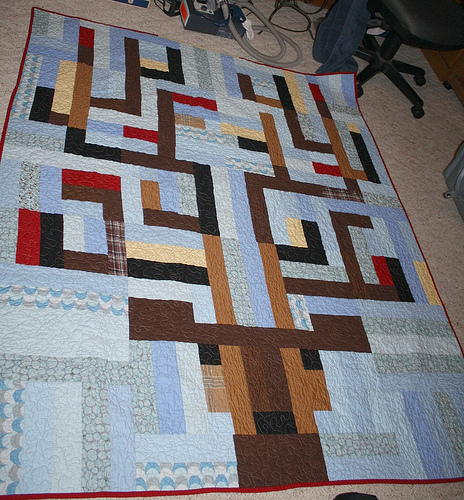
This quilt was for my dad’s neighbor who helped build the screened-in porch. When I started it (about 5 months ago) I didn’t realize how Christmasy it was! Now I wish I had made the deer’s nose red. I hope he liked it!
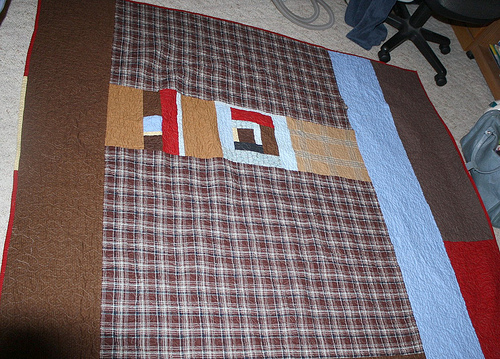
It’s made from a pattern in Dare to Be Square Quilting by Boo Davis. The fabrics are mostly Kona solids with some random blue prints (Lizzy House, Jay McCarrol) and some random plaids. I also got a yard of the brown plaid print for the back from Joanns.
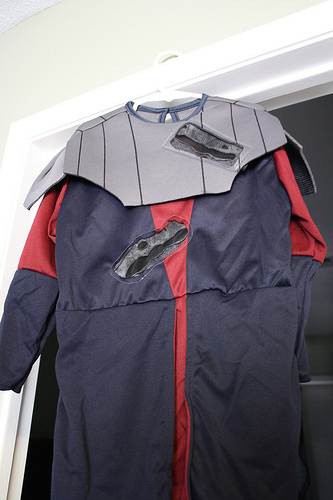
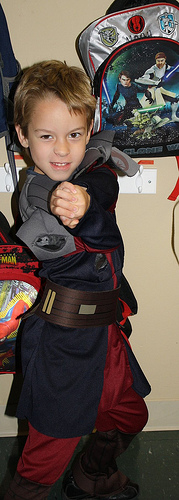
Ouch! You hit me with your lightsaber!
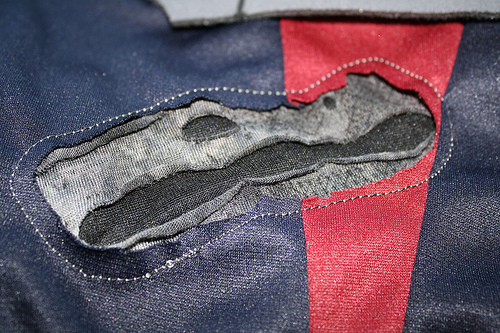
That is a lightsaber strike…in case you didn’t know. This year, instead of making an Anakin suit from scratch, I got this super cool zombie looking dirty black fabric at Joann’s and reverse appliqued it to a cheap store bought suit. It worked out great! There were a bunch of other little Lukes, Anakins, Troopers, etc., but no one had lightsaber cuts in their suit at school :)
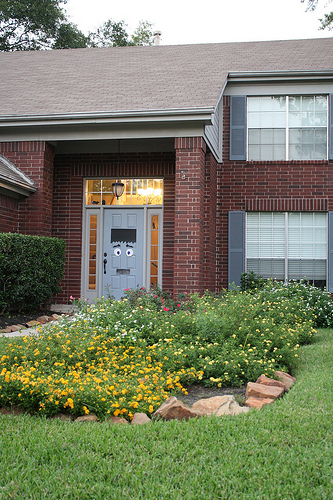
Also, the house got in on the half-assed decorations action. Can you spot the mice?
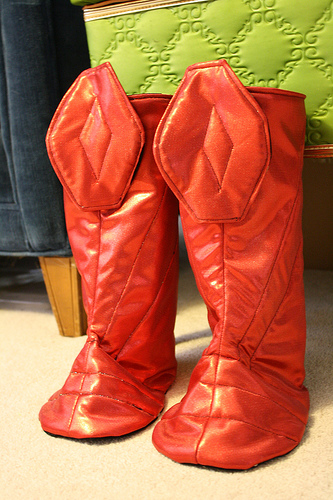
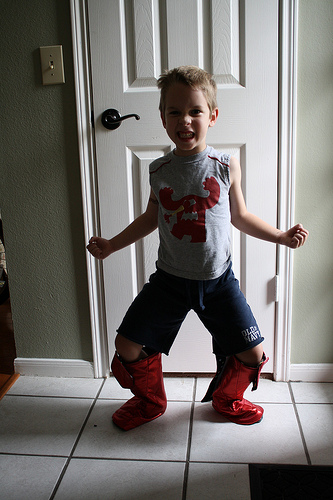
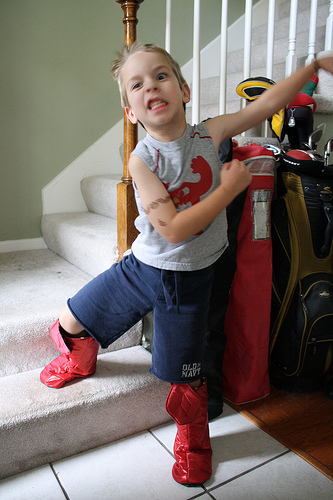
Super Boots!
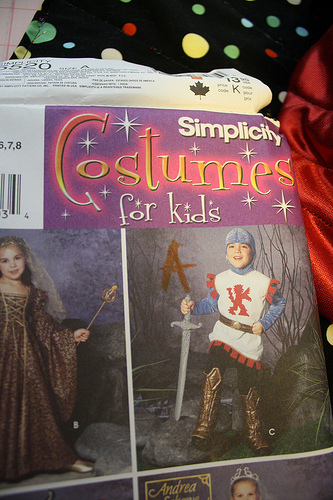
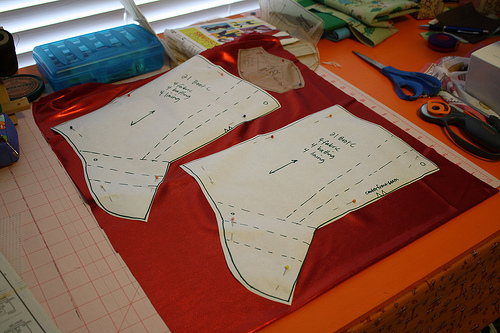
We’re gearing up for Halloween around here. Instead of sewing a big costume this year, I decided to make a bunch of pieces. My kid loves costumes every day of the year, so better to have a little mix and match. Up first is super boots! They’re a little big, but I figure over pants and shoes, they’ll be fine. The Simplicity 5520 pattern was super easy to follow - we’re making the helmet and armor next. The shiny red fabric is something from the halloween shelf at Joann’s. It’s super silky and shiny. We got a bunch of colors (red, black, silver, gold) for the costume parts.
addictions fabric flickr heather bailey recycle sewing: alicia paulson jane market bag linen pattern tote
by Blabby
leave a comment
Jane Market Bag
I got to do a little sewing recently. I’ve been dragging around my Purl Soho tote bag for months and months and it is sorely in need of a wash, but I hate all my other bags. So I thought I’d make something similar, but less NPR-free-tote. (Not that I don’t totally love a free tote).
So, anywho, I started checking around the interwebs for some inspiration and found about a zillion people had made this lovley Jane Market Bag. As evidenced by the very numerous search results on flickr here and the fact that it has it’s own group here. I should note that this pattern is actually supposed to be used as a fun grocery bag. Most of the changes I made (that I’m about to talk about) came about because I wanted to turn it into more of a big catch-all purse.
I bought the pattern for the bargain price of $6. It took me longer to pick out some fabrics than to do the cutting for this VERY easy and user friendly pattern. (Kudos to Alicia at rosylittlethings.com for such an easy to use pattern.) Recommended for beginning sewists. (sewers? I always think that reads like sewers where rats live…not sowers.)
So first - here was my initial fabric selection:
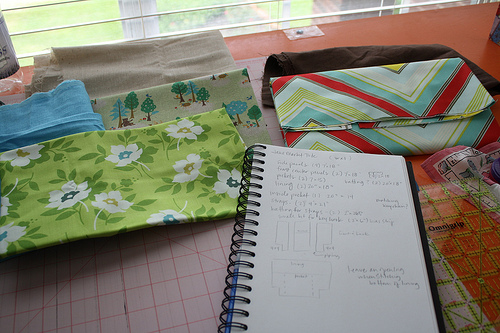
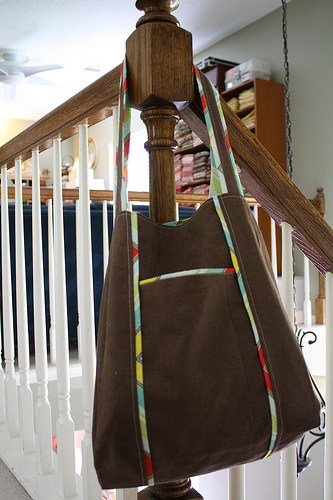
I really needed a neutral bag that I could carry anytime. So that eliminated most of my prints for the outside. I love linen, and although I’m not sure it’s really sturdy enough for a bag, I went with it. Sadly, I didn’t have enough of this brown linen to do a front and back pocket, so I just did a front pocket.
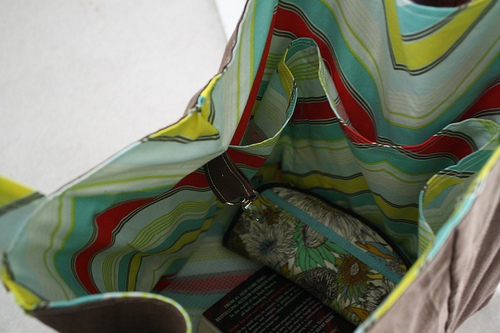
I deviated from the pattern a little by adding some piping strips to the front, back and handles. I also added pockets inside and a little key hook inside so I wouldn’t have to dig around for my forever-missing keys.
Front:
Inside:
Back:
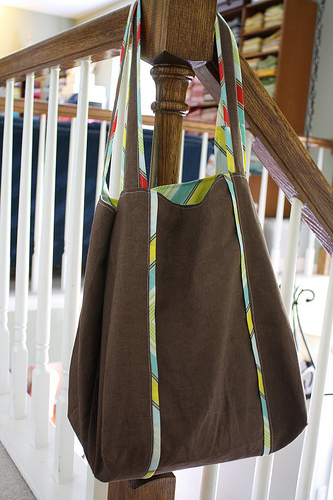
I really liked the piping, but it was a little too fat. I used a one inch strip, folded in half and sewn into the seams between the panels on the front and back. I should have just done a half inch. So it looked more like this piping (the super skinning piping on the left and right of the pocket):
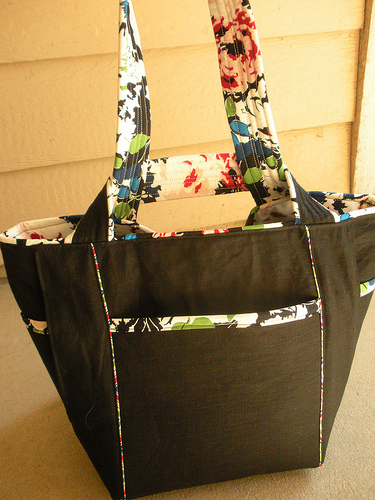
For the straps, the pattern calls for 4″ x something (21″ I think?) strips. But that seemed like it would be too short for me (I measured my Kroger .99 cent grocery bags as a baseline because they never fall off my shoulder), so I went with 4″x 26.5″. But to get the print on the edges that I wanted, I did 1″ of brown and 3″ of pop garden - sewed them together along the long edge, and then closed the loop by sewing the other long edge of brown to the long edge of pop garden. Make sense? It gave me a tube - inside out. I used my crochet hook to flip it right side out, and pressed it centering the brown linen. Then I top stitched it inside and outside the brown.
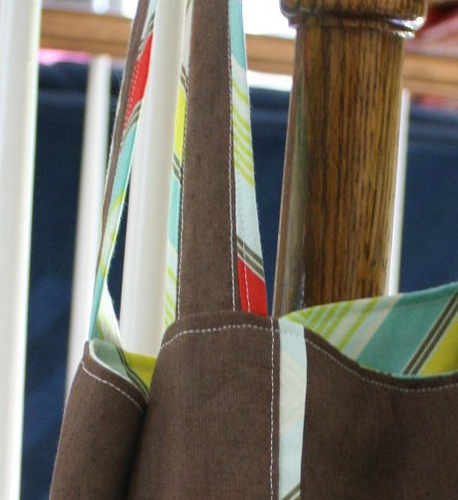
Finally, instead of sewing the straps to the outside of the bag like in the pattern, I sewed them in at the same time that I sewed the lining to the outside of the bag. I’m not spatially smart enough to explain how this works, but you sew them in before you pull everything out through the bottom hole. You can see a great video of this ‘birthing’ method here: birth of a bag video by sugar sugar bags. She’s got the straps sewn inside also.
I’ve been carrying my new bag around for a few days now, and overall, I like it a lot. I’m planning a 2nd one, and next time, I’ll sew a bottom seam at the bottom of all pockets so my cell phone doesn’t slide down UNDERNEATH the bag. I just hate that. Also, I may consider interfacing. I was too lazy to put it in this time, and the pattern certainly doesn’t call for it. But even cotton batting would make this bag a lot more stable.
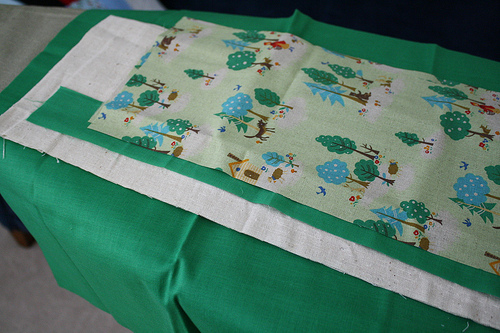
Here’s the fabric selection for the 2nd one - natural linen body, green red riding hood fabric for the pockets, green solid for the inside and piping. Should be cute!
sew deer pt. 2
Well, I got this quilt all sandwiched and half quilted before I realized the bottom was bunching up. Such a bummer. That’s what I get for using discount basting spray that’s at least 2 years old. I spent two hours with a seam ripper removing half of the stippling I’ve done, and I just don’t feel like taking a picture of it. So instead, I’ll just share my finished quilt top before it was marred with a zillion needle holes.
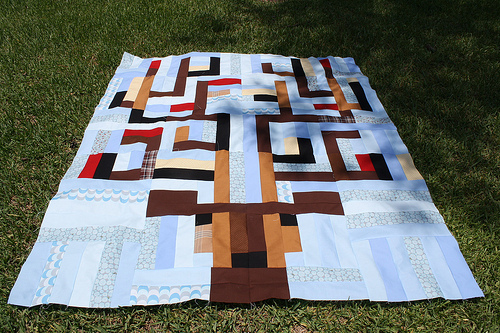
I’d love to be doing more sewing. Let’s hope that now that school has started, there will be more time. Hope everyone had a great summer!
blabbery quilting patterns sewing: boo davis dare to be square quilting deer kona quilt
by Blabby
5 comments
quilts are sew deer to me!
My parents’ super nice neighbor is helping them screen in their second floor porch. My dad has been ‘building that porch’ for about six year. And now, thanks to his neighbor, the porch is almost done after one week of work! So I’m making the neighbor a quilt for his trouble. Him and his wife are marathoners, but I couldn’t think of a good quilt idea that had to do with running. But then my dad told me he’s a hunter! And then I was looking through Boo Davis’s awesome book Dare to be Square Quilting, and found this awesome pattern.
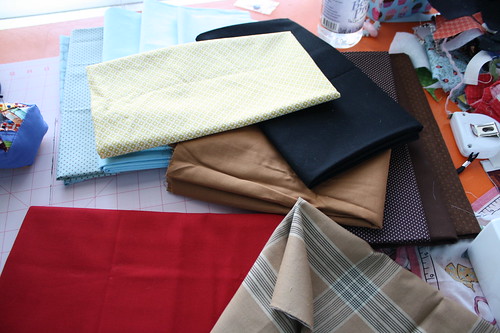
So I picked out my fabric - a mix of kona solids, some of the new yellow print from the DS Quilts line at Joanne’s, and some random blue prints and a brown woven.
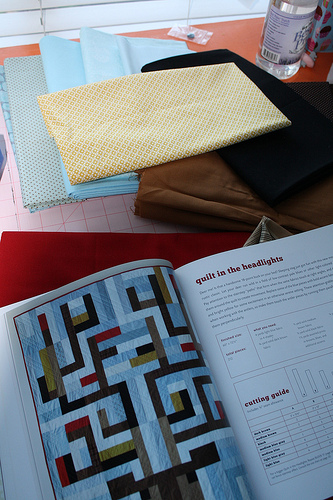
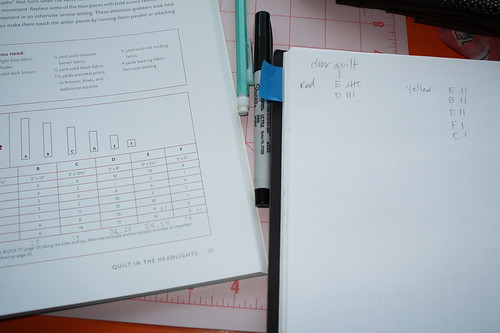
My favorite part of Boo’s quilt is the bits of red and yellow, and they’re not included in the cutting instructions - so I went through her pattern and wrote them in just like she has in the photo and subtracted out the blue pieces they would replace.
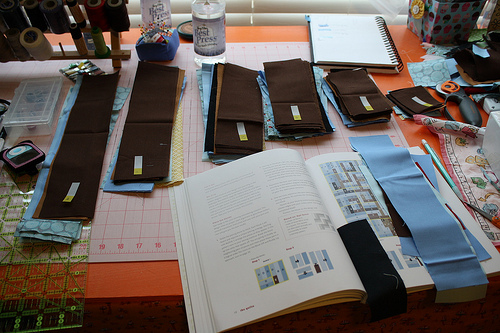
It only took about 3.5 hrs to do all the cutting - super easy pattern!
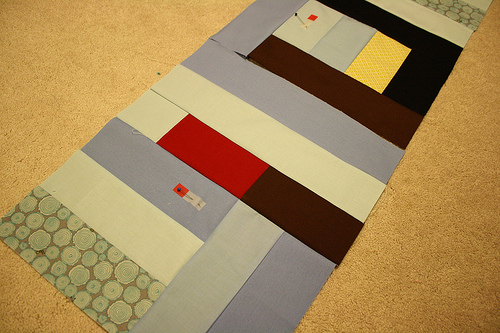
And then in an hour, I knocked out 4 blocks - the top row of the quilt. But it was so late at night, the color of this photo stinks.
More (better) pictures to come! I can’t wait to finish it up. I highly recommend this book.

