addictions blessings Crafts embroidery fabric flickr quilting sewing tutorials: 2012 christmas handmade holiday
by Blabby
leave a comment
Handmade Holidays underway
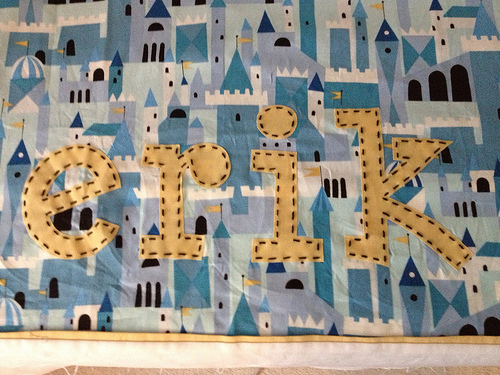
Got a little sewing done this weekend. I’m finishing up the binding on baby Erik’s (my gorgeous new nephew) quilt - finished pictures coming soon on that - but here’s a little preview.
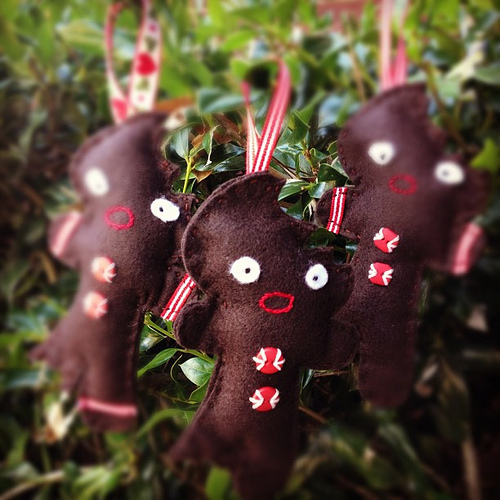
Also made some ornaments for family members. I used the awesome pattern and tutorial by Elsie Marley posted here. Super cute and simple. The best part about her pattern is that she sews the gingerbread man down to a felt rectangle and THEN cuts him out! So much easier that cutting two gingerbread men and sewing them together around the bite marks. Very smart!
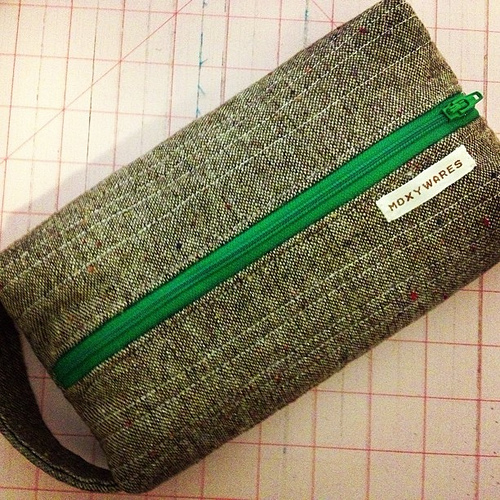
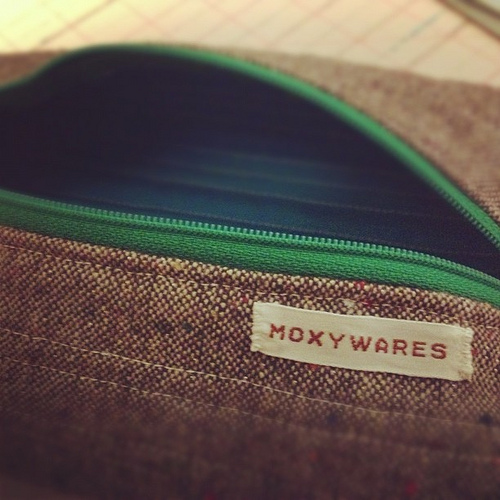
And finally, I got to work on a zipper pouch - I needed a gift for a man…hope it’s manly enough! I used this super simple tutorial by terrabytefarm.com posted here. I’ve made quite a few box pouches, and they were all kind of a pain. This tutorial was super easy. The key is that the inside is unfinished. But since I’m not crazy about all those little threads and stuff, I think next time, I’ll add a 1/2 inch to the length on one side when cutting the fabric and do french seams. I also added a handle by jamming a little rectangle of fabric into my corners before I squared them off. I’ll definitely use that tutorial again!
I also made these pillow cases a few weeks ago for some ugly leather pillows we have. It’s funny, now we use those pillows all the time - it seems like someone is always putting one behind their back. I swear no one ever used them before. So that makes me happy!

blabbery Crafts sewing tutorials: bendy straws costume dinosaur glider halloween handmade wing
by Blabby
1 comment
Let’s glide like pterosaurs!
My kid is dino crazy. They had a special Dinosaur Train deal at the Houston Zoo a few weeks back, and if you wore a costume, you got a prize. Well, we only have superhero costumes around here, so I whipped up some pterodactyl wings real quick.
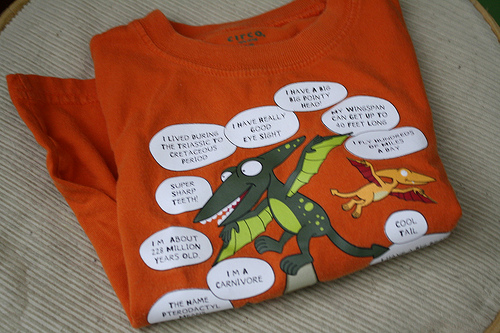
For inspiration, we used this shirt…now a little too small, but it worked for one more day.
First I sketched out what I was aiming for - just the webbing that hangs down from their arms.
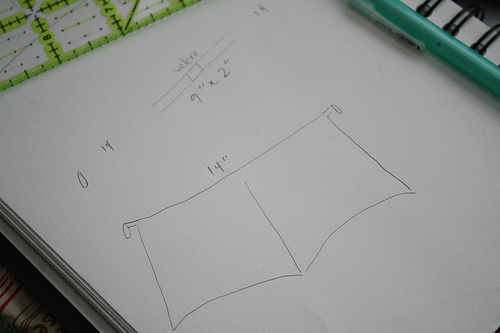
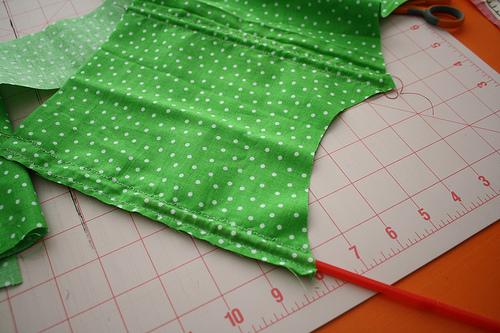
I started with a rectangle folded over to give me the double sided wing that I was aiming for:
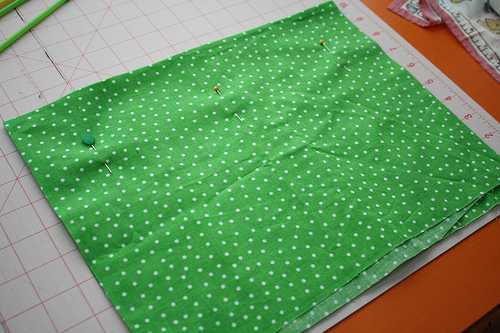
Then I used some fancy stitches that kind of look like fangs to make casings for my bendy straws - these are the ‘veins’ in the glider wing, so they hold their shape. After sliding the straws in, I cut away some arches in the bottom and then sewed the bottom closed with some top-stiching. I sewed right over the straws so they wouldn’t fall out.
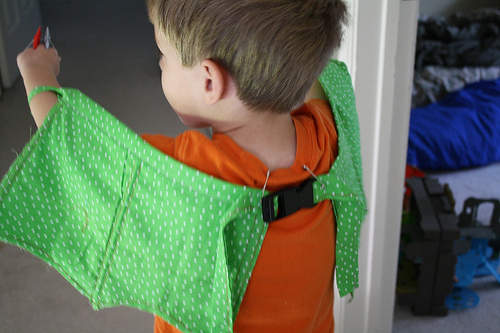
After making two ‘wings’, I connected them with some binding with a backpack clip in the middle (because pterodactyls grow so quickly!). On each end of the binding, I sewed a smaller double fold bias strip with a little snap, so I could attach the wings to his wrists.

And to keep the glider up in the center of his shoulders, I just safety-pinned it to his shirt.
Ta Daaaa!
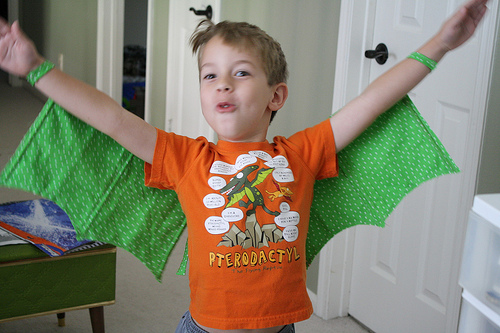
And some action shots:
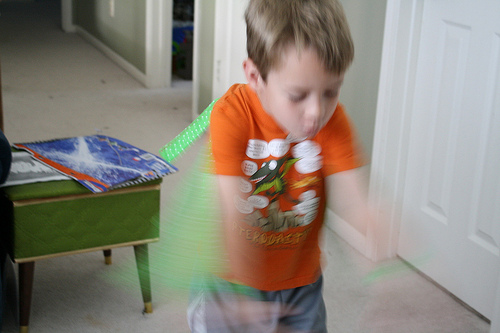
with claws:

Hexagons, revisited again.
First I started out touting the miracle of paper piecing hexagons. Then I quickly figured out that basting in the little papers was double the work - for me, anyway. Many people swear by it. So I made this handy tutorial for hand-piecing with no paper. I still think this method is the best for small hexagons. Then I found this tutorial for bigger hexagons, machine-pieced together! And today, another awesome tutorial - this one video - by fellow LA Modern Quilt Guild member, Liz Harvatine. She’s also got a pdf of hex templates - bigger hexes than my pdf templates. And don’t you love the solids she used? Awesome.
So, there are no excuses now. Make a hexagon quilt already!
blabbery flickr quilting patterns sewing tutorials: hexagons
by Blabby
45 comments
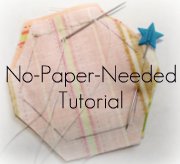
Hand-Sewn Hexagon Tutorial
Here’s my little tutorial for hand-sewing hexagons together without using paper templates inside the hexagon.
First, download the hexagon template you want to use. Cut out your shape - you really only need one or two. (I made the template sheets for people who need lots for English paper-piecing). You can pre-cut your fabric into squares a little larger than your template (at least a 1/2″ on all sides), or just keep your fabric whole. Trace your shape. A lot!
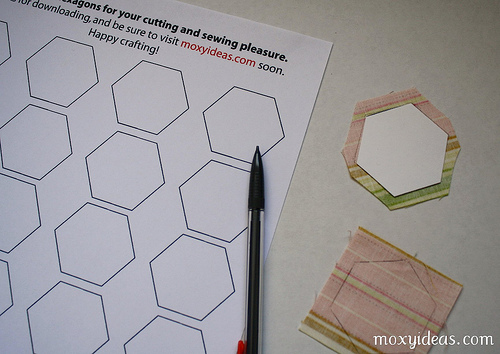
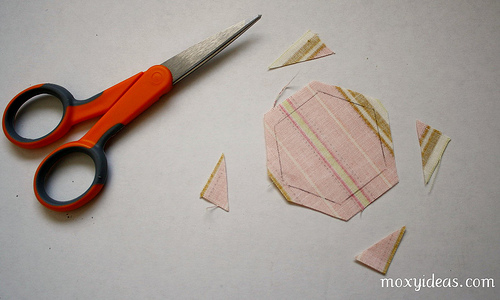
Cut out your hexagons, leaving a good 1/4″ seam allowance all the way around.
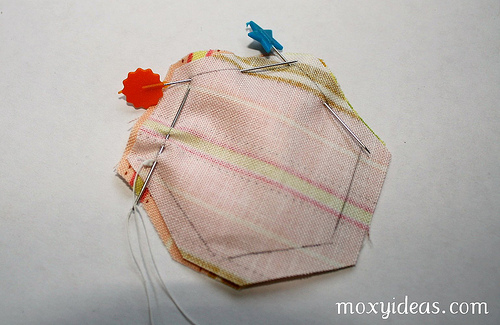
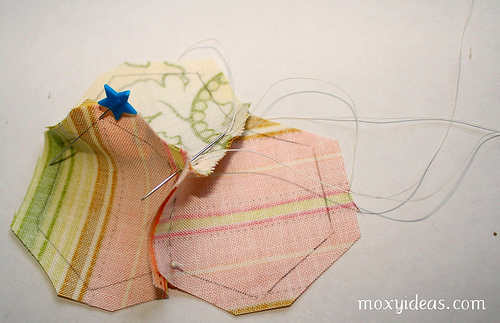
Place two trimmed hexagons right sides together and stick pins through two corners. Don’t worry about your outer edges lining up, just get your pencil lines to match. Two pins - one at each end of one side of the hexes - is the easiest way to get a good match.
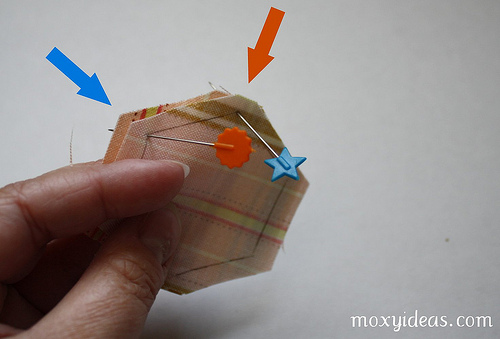
Stick your pins in along the lines away from where you’re going to sew so they’re out of your way. Thread your needle, and put a knot in one end. Use the knot to anchor one more corner together - this will be your starting point. I like to start and stop with a tiny back stitch at each corner when sewing these hexes together, just to make the intersections stronger.
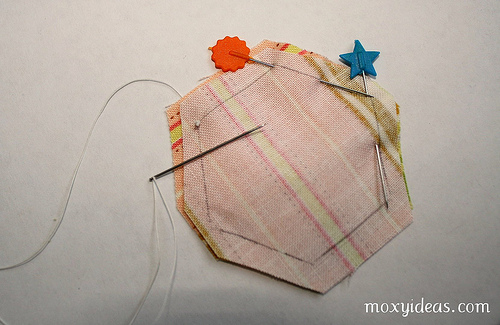
Pushing your needle up and down in a running stitch, sew right along your pencil lines.
As you get to the end of your side, remove the pin to get it out of your way. Sew your running stitch all the way to the next corner. Once there, sew a small back stitch to secure the corner. Be careful not to pull your thread tight - it will gather your hexes. You’ll have to continually loosen the fabric back to a nice flat seam.
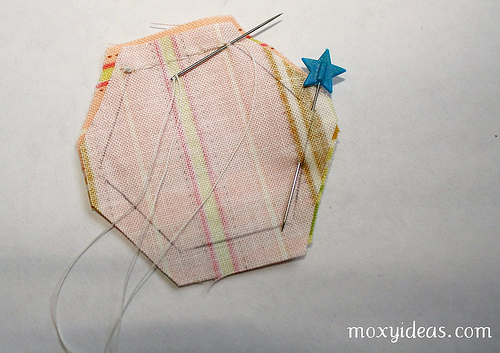
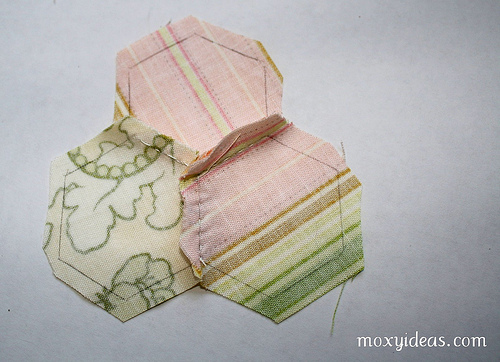
Now you’re ready for a third hexagon. You can add it anywhere, but for this tutorial, I just kept moving to the right. Open your first two hexes and line your third hex up right sides together with your second hex. Use a pin in the corner to keep them lined up.
After a quick back stitch through the second and third hex, to both join them and secure the intersection, continue your running stitch to the next corner.

Now you’re at the far right side, and you need to get back to sew hexes one and three together. You can do a back stitch and tie a small knot and cut your thread, or you can do a back stitch and sew a few stitches to run the thread back to the center. I do the latter…it may be laziness, but I try to see how far I can get without ever cutting the thread.
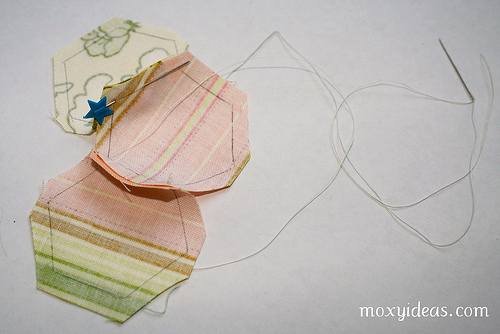
Use the same method of lining up hex one and three, right sides together, and securing the outside corners with a pin. Sew with a running stitch toward your pin.
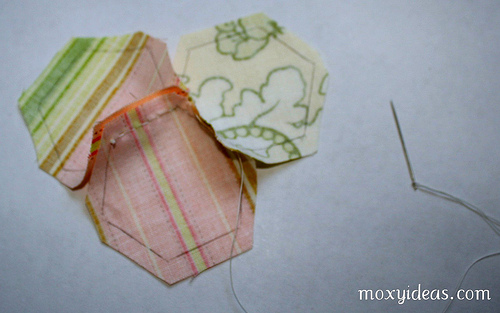
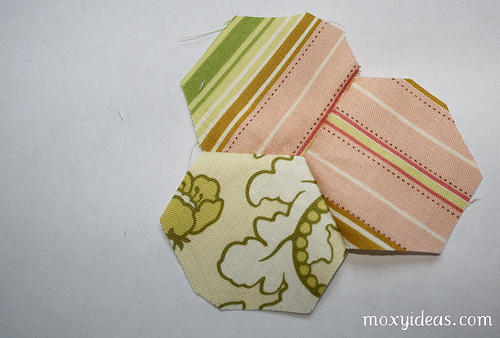
I’ve stopped at three here, but you can just keep adding more and more around, choosing where to place the next one based on where your thread left off. Here’s the back - I’ve finger pressed the seams.
Here’s the front. Once I’ve got all the hexagons I want, I use spray starch to flatten out the seams. Eventually, I’ll also use spray starch to turn the outside edges under, and I applique my hexes down to a foundation. I guess you could just keep going and going until you make a whole quilt, but that is a little ambitious for me.
So that’s it! I hope it helps someone. Sewing these goes super fast - it took ten times as long to write this tutorial as it did to sew those hexes together. I hope you’ll link back to me with pictures of your completed projects!