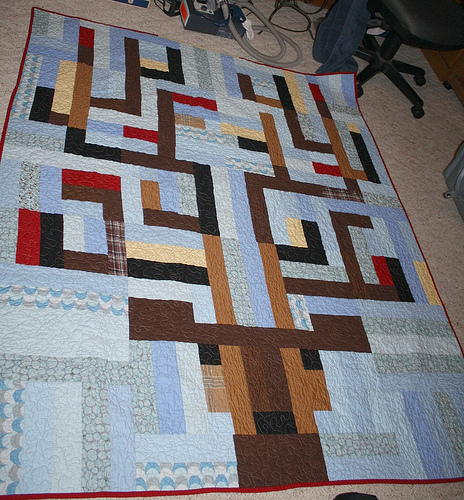
Micah’s quilt
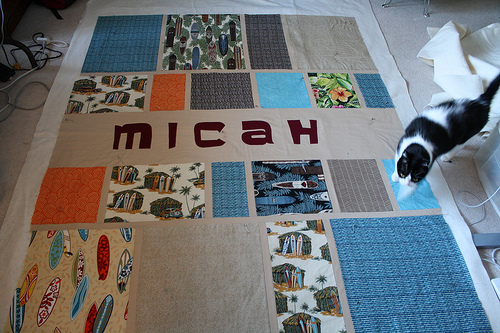
Micah’s quilt, originally uploaded by Beaty Family Fun.
Both nephew quilts are quilted. Nathaniel’s binding is almost done, and Micah’s is next! My original post about how I came up with this pattern is here.
Surfer Dude Quilt
Katie over at Katie’s Corner made this super cool Super Hero Quilt. So I started making my plan based on her photo.
Here are my initial sketches and measurements. I decided that I wanted the quilt to be about 60″x80″, and worked in from there.
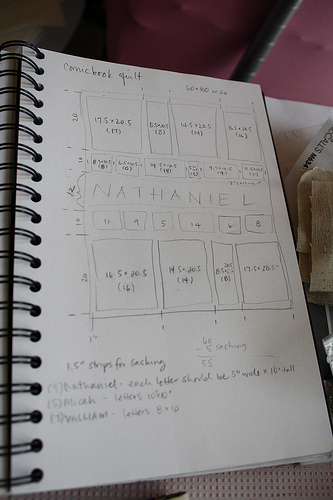
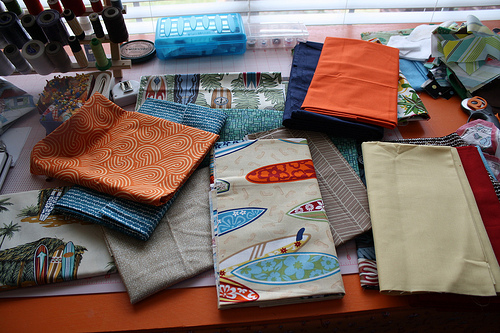
I knew I wanted to make one for each of my nephews with a surfer theme. Then, for the backs, I used their favorite team colors (FSU and UF). Here are the fabrics I picked out for the surfer side. I’ve been collecting surf-themed fabrics for a while, so I had everything I needed. I have some awesome hula girl fabric too, but I left that out because they’re still a little young.
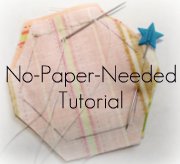
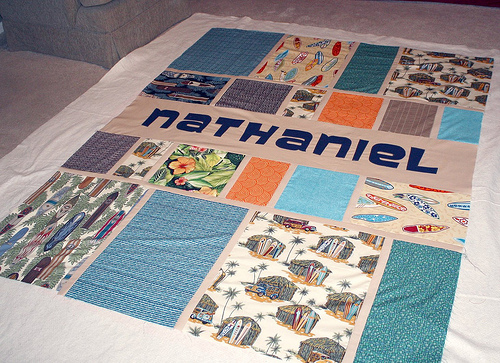
I pieced all the top and bottom strips, and next it was time to do the name applique. So I printed BIG letters in ‘mirror-image’ format on my printer.
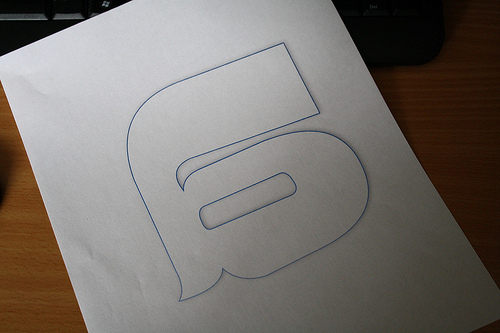
Then I traced them onto the paper side of Heat-n-Bond Lite. Then I cut each letter out and ironed the glue side to the back of my fabric. Then I cut them out from the fabric and peeled the paper backs off and glued them down to my kona khaki piece that would go into the quilt. I just kind of eye-balled the spacing.
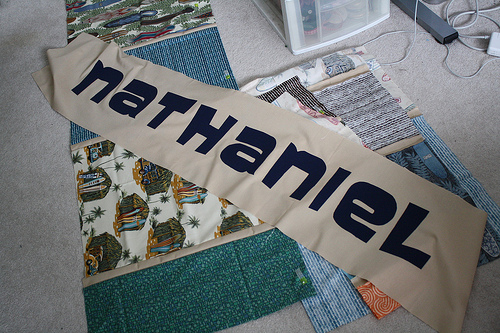
Then I just did a straight stitch around them about 1/4″ inside the edge. I tried a couple different stitches - zig zag, satin, but they didn’t look that great. The straight stitch looked great and was fast.
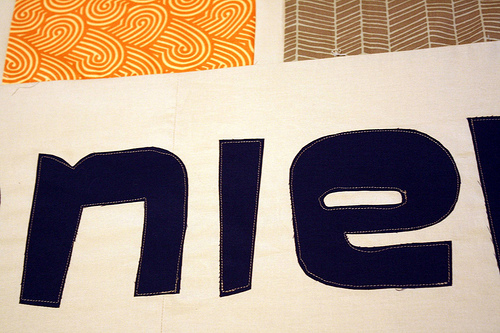
And here’s the completed top!
The backs are all done and Nathaniel’s is sandwiched. I’ll post some pics of the completed quilts soon. These were supposed to be Christmas gifts, but now they’re early January gifts :)
blabbery: birthday boy handmade kid light saber party starwars
by Blabby
6 comments
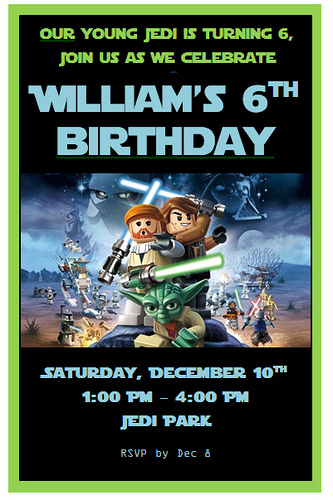
Jedi Party
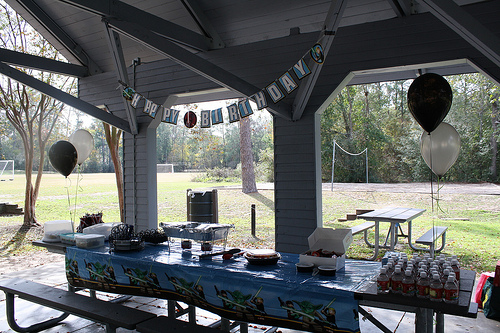
We had a very successful birthday party last weekend. Here are some photo highlights.
Invites made in MS Word using a free star wars font and bootlegged star wars lego images found all over internet.
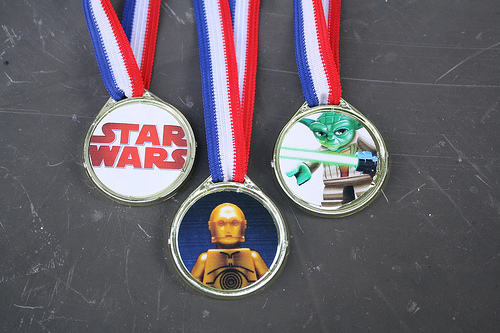
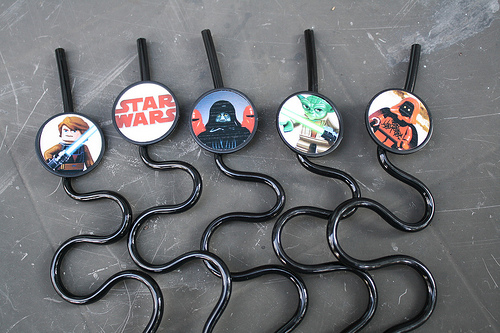
For the goody bags - medals and silly straws from party city with star wars stickers (avery labels printed on my printer, circles punched with a paper punch):
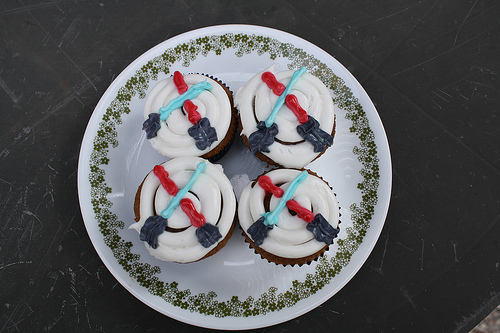
Homemade light saber cupcakes:
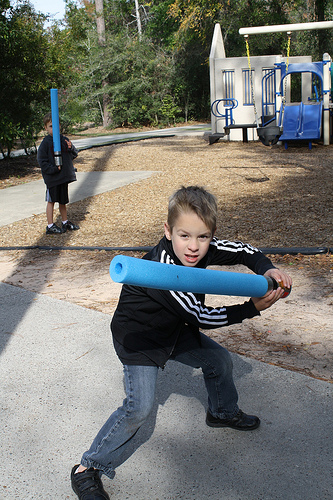
Pool noodle light sabers for everyone:
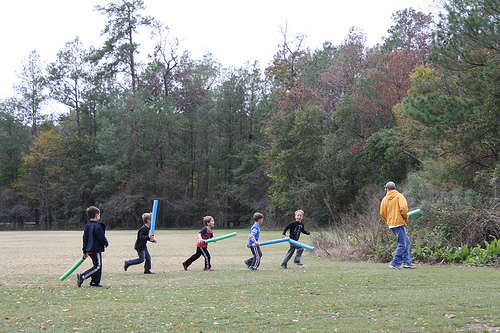
Best of all: LOTS of friends! I hope everyone else had as much fun as we did!
blabbery moxywares quilting quilting patterns sewing: boo davis dare to be square deer modern
by Blabby
leave a comment
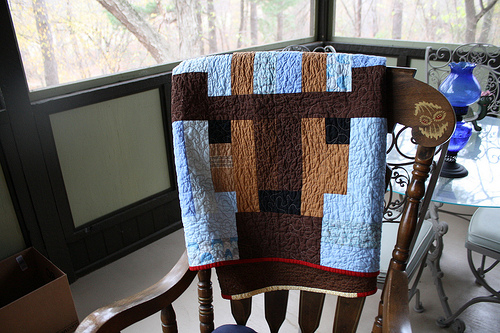
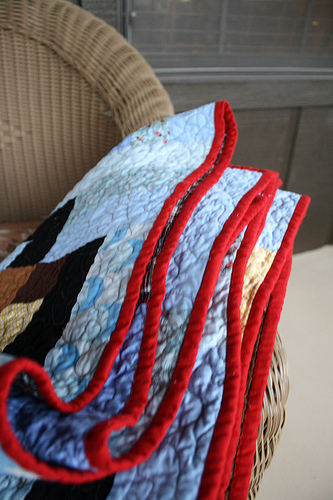
Deer Quilt Complete
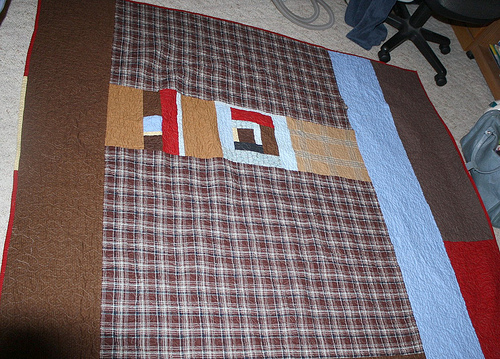
This quilt was for my dad’s neighbor who helped build the screened-in porch. When I started it (about 5 months ago) I didn’t realize how Christmasy it was! Now I wish I had made the deer’s nose red. I hope he liked it!
It’s made from a pattern in Dare to Be Square Quilting by Boo Davis. The fabrics are mostly Kona solids with some random blue prints (Lizzy House, Jay McCarrol) and some random plaids. I also got a yard of the brown plaid print for the back from Joanns.
Teacher Gifts
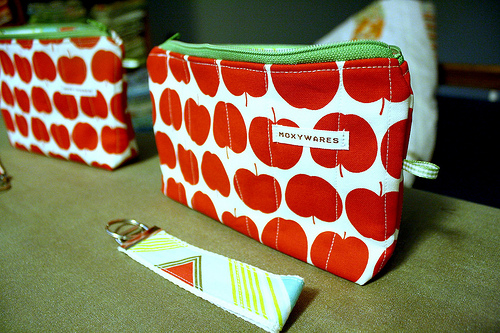
IMG_3620, originally uploaded by Beaty Family Fun.
Zipper pouches and matching key fobs (they match the lining) for the teachers Christmas gifts. Still working on the cup sleeves and a starbucks card for each :)
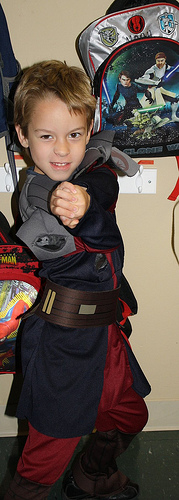
Ouch! You hit me with your lightsaber!
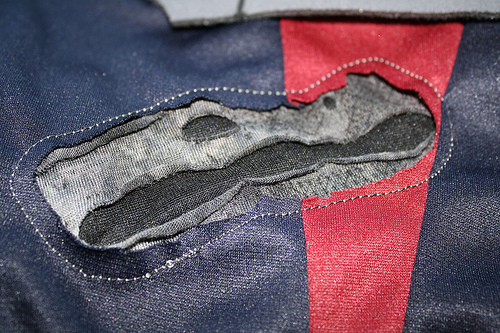
That is a lightsaber strike…in case you didn’t know. This year, instead of making an Anakin suit from scratch, I got this super cool zombie looking dirty black fabric at Joann’s and reverse appliqued it to a cheap store bought suit. It worked out great! There were a bunch of other little Lukes, Anakins, Troopers, etc., but no one had lightsaber cuts in their suit at school :)
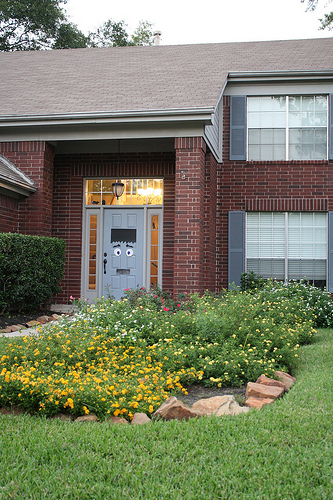
Also, the house got in on the half-assed decorations action. Can you spot the mice?
Spaceboy and Robot
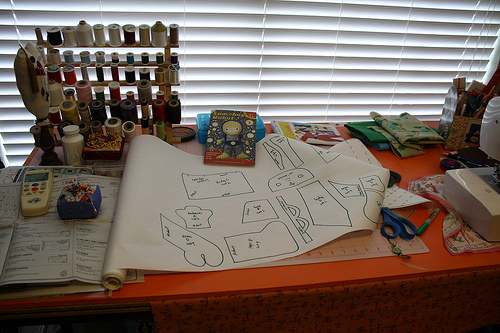
wee wonderfuls spaceboy, originally uploaded by Beaty Family Fun.
Coming up next - Spaceboy! Super cute little pattern from WeeWonderfuls.com.
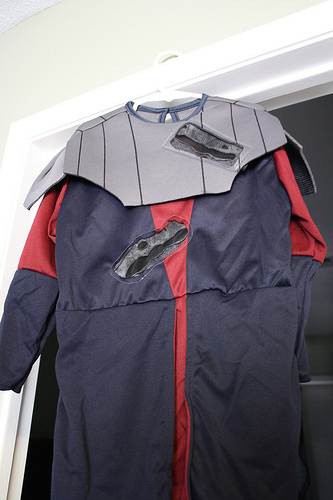
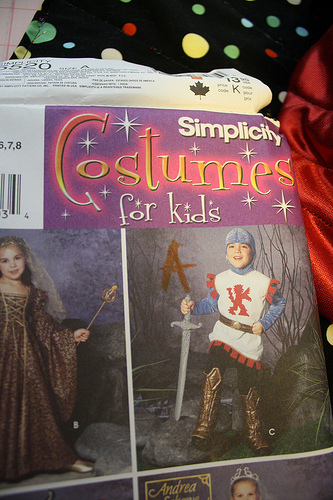
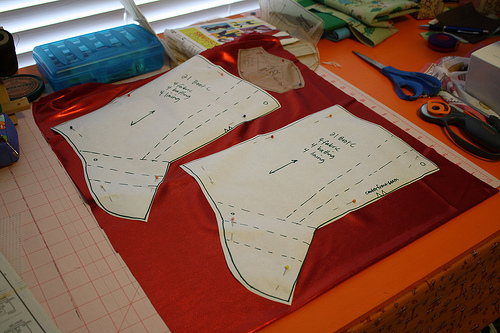
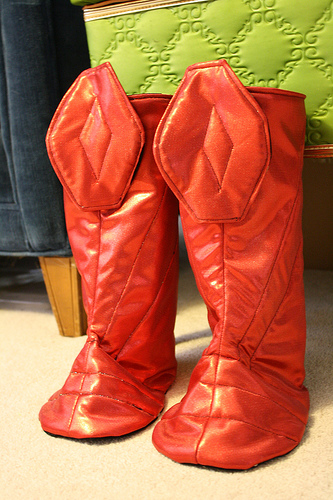
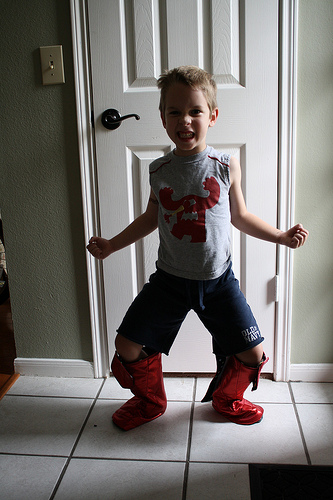
Super Boots!
We’re gearing up for Halloween around here. Instead of sewing a big costume this year, I decided to make a bunch of pieces. My kid loves costumes every day of the year, so better to have a little mix and match. Up first is super boots! They’re a little big, but I figure over pants and shoes, they’ll be fine. The Simplicity 5520 pattern was super easy to follow - we’re making the helmet and armor next. The shiny red fabric is something from the halloween shelf at Joann’s. It’s super silky and shiny. We got a bunch of colors (red, black, silver, gold) for the costume parts.

addictions fabric flickr heather bailey recycle sewing: alicia paulson jane market bag linen pattern tote
by Blabby
leave a comment
Jane Market Bag
I got to do a little sewing recently. I’ve been dragging around my Purl Soho tote bag for months and months and it is sorely in need of a wash, but I hate all my other bags. So I thought I’d make something similar, but less NPR-free-tote. (Not that I don’t totally love a free tote).
So, anywho, I started checking around the interwebs for some inspiration and found about a zillion people had made this lovley Jane Market Bag. As evidenced by the very numerous search results on flickr here and the fact that it has it’s own group here. I should note that this pattern is actually supposed to be used as a fun grocery bag. Most of the changes I made (that I’m about to talk about) came about because I wanted to turn it into more of a big catch-all purse.
I bought the pattern for the bargain price of $6. It took me longer to pick out some fabrics than to do the cutting for this VERY easy and user friendly pattern. (Kudos to Alicia at rosylittlethings.com for such an easy to use pattern.) Recommended for beginning sewists. (sewers? I always think that reads like sewers where rats live…not sowers.)
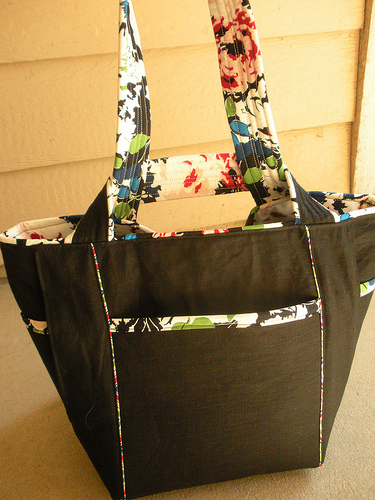
So first - here was my initial fabric selection:
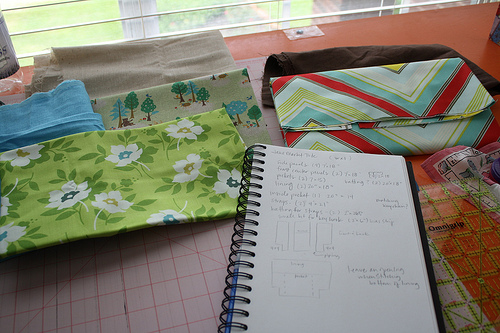
I really needed a neutral bag that I could carry anytime. So that eliminated most of my prints for the outside. I love linen, and although I’m not sure it’s really sturdy enough for a bag, I went with it. Sadly, I didn’t have enough of this brown linen to do a front and back pocket, so I just did a front pocket.
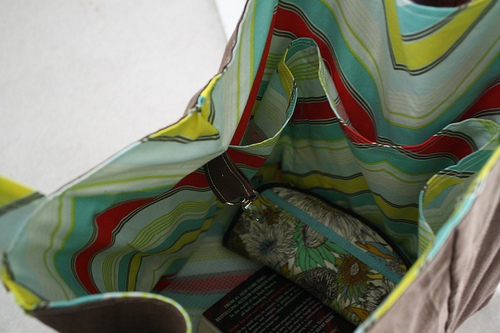
I deviated from the pattern a little by adding some piping strips to the front, back and handles. I also added pockets inside and a little key hook inside so I wouldn’t have to dig around for my forever-missing keys.
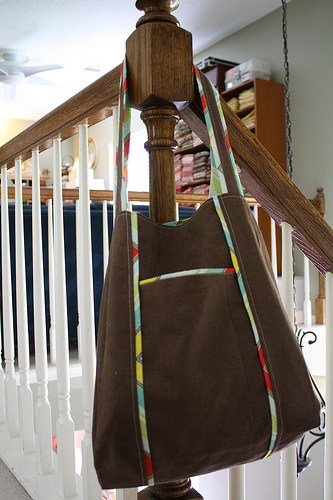
Front:
Inside:
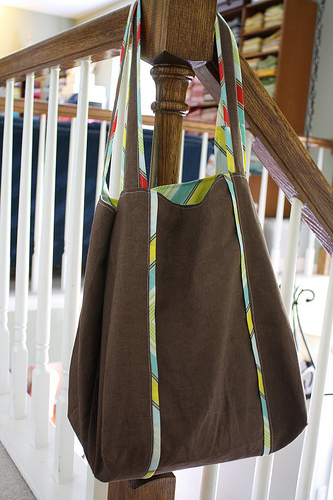
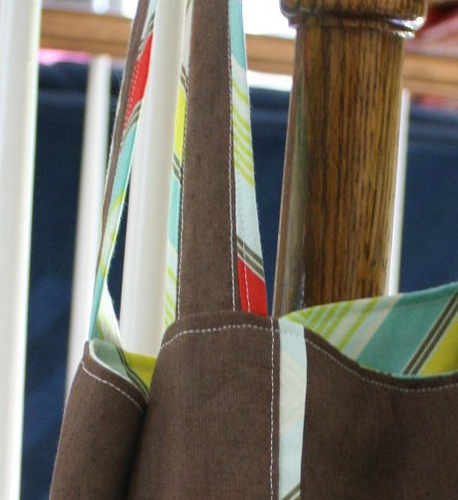
Back:
I really liked the piping, but it was a little too fat. I used a one inch strip, folded in half and sewn into the seams between the panels on the front and back. I should have just done a half inch. So it looked more like this piping (the super skinning piping on the left and right of the pocket):
For the straps, the pattern calls for 4″ x something (21″ I think?) strips. But that seemed like it would be too short for me (I measured my Kroger .99 cent grocery bags as a baseline because they never fall off my shoulder), so I went with 4″x 26.5″. But to get the print on the edges that I wanted, I did 1″ of brown and 3″ of pop garden - sewed them together along the long edge, and then closed the loop by sewing the other long edge of brown to the long edge of pop garden. Make sense? It gave me a tube - inside out. I used my crochet hook to flip it right side out, and pressed it centering the brown linen. Then I top stitched it inside and outside the brown.
Finally, instead of sewing the straps to the outside of the bag like in the pattern, I sewed them in at the same time that I sewed the lining to the outside of the bag. I’m not spatially smart enough to explain how this works, but you sew them in before you pull everything out through the bottom hole. You can see a great video of this ‘birthing’ method here: birth of a bag video by sugar sugar bags. She’s got the straps sewn inside also.
I’ve been carrying my new bag around for a few days now, and overall, I like it a lot. I’m planning a 2nd one, and next time, I’ll sew a bottom seam at the bottom of all pockets so my cell phone doesn’t slide down UNDERNEATH the bag. I just hate that. Also, I may consider interfacing. I was too lazy to put it in this time, and the pattern certainly doesn’t call for it. But even cotton batting would make this bag a lot more stable.
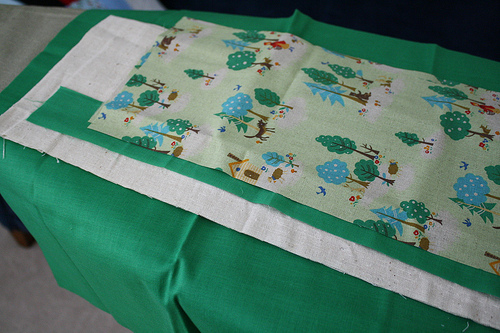
Here’s the fabric selection for the 2nd one - natural linen body, green red riding hood fabric for the pockets, green solid for the inside and piping. Should be cute!
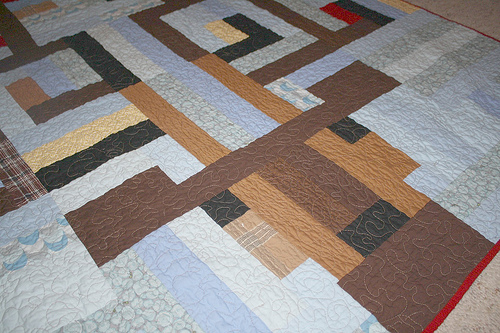
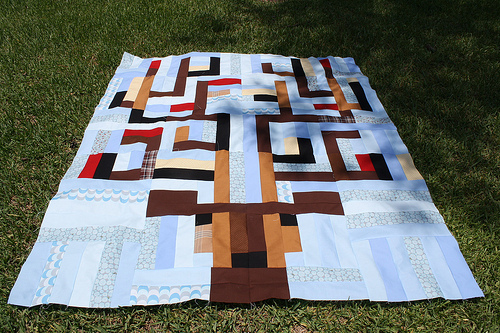
sew deer pt. 2
Well, I got this quilt all sandwiched and half quilted before I realized the bottom was bunching up. Such a bummer. That’s what I get for using discount basting spray that’s at least 2 years old. I spent two hours with a seam ripper removing half of the stippling I’ve done, and I just don’t feel like taking a picture of it. So instead, I’ll just share my finished quilt top before it was marred with a zillion needle holes.
I’d love to be doing more sewing. Let’s hope that now that school has started, there will be more time. Hope everyone had a great summer!