Crafts quilting sewing: english paper piecing fabric free spirit freshcut grandma's flower garden hand piecing heather bailey hexagons patchwork quilting quilting patterns sewing
by Blabby
1 comment
more hex progress
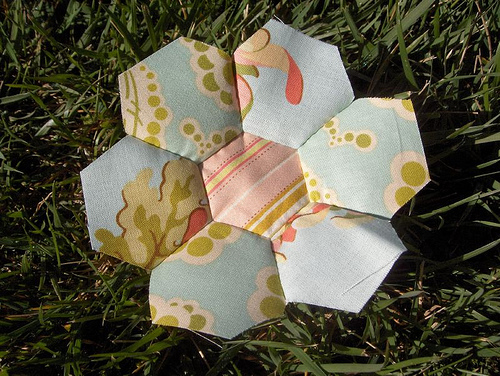
I’ve been plugging away on my hexagons. I started out using the English paper-piecing method, and quickly went to just sewing the hexes together. My process is placing two hexagons right-sides together, and placing a straight pin through the points at one end of a side of the hexagon. Then I start sewing a running stitch at the other end of the line or segment, towards my pin. As I get close, I remove the pin. This has been working great. Here are some photos of my finished hexes. I like the big flower the best, but I’m making a small (24″x 24″) challenge quilt, so I couldn’t use all big flowers.
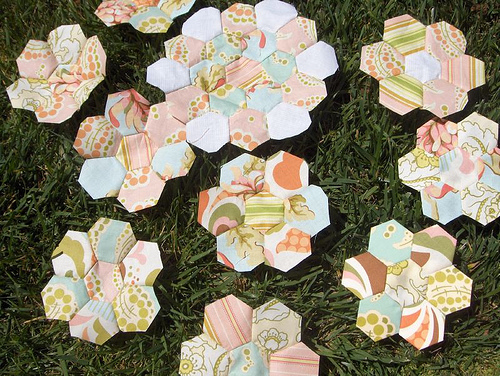
The next photo is one that hasn’t been pressed, and one that was painstakingly pressed with a clover mini-iron. This is the definite downside to not using the paper pieces when sewing hexagons. The seams are a killer.
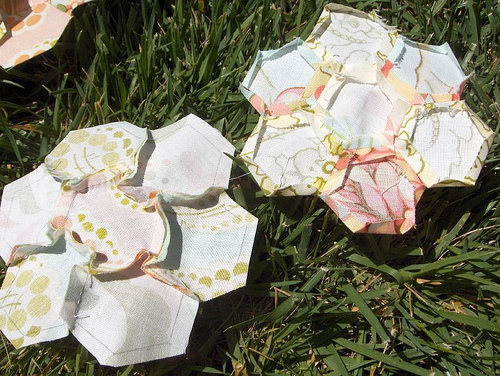
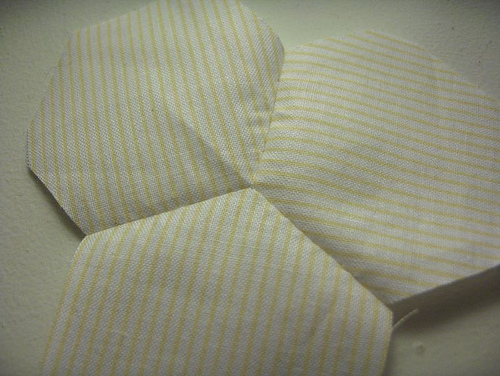
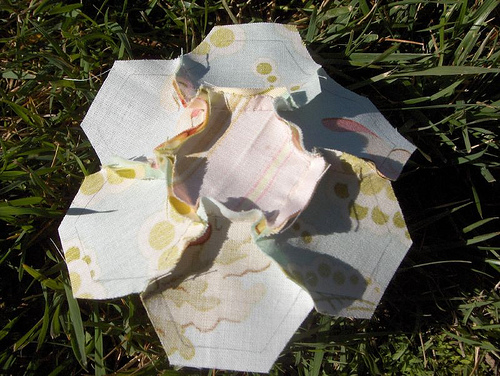
Here’s the one I did use the paper-piecing method on. It came together pretty easy. Once you get the first round of petals on, take the middle paper out to sew their side seams together. I figured this out half-way through. Duh.
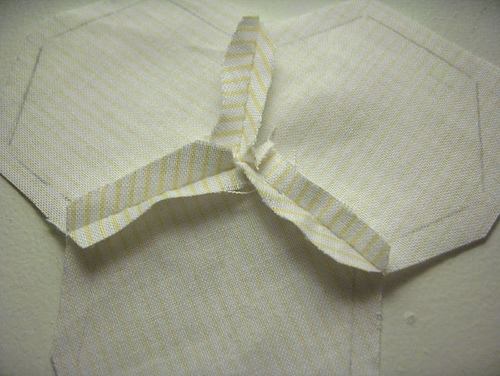
The front of the paper-pieced flower. Much neater than the others, but the stitches are a little too obvious for my taste. And it was TWICE the work - sewing the hexes around the paper, then sewing the hexes to each other. That alone is enough for me not to do it. But I wanted to use up the ones I already sewed the paper into.
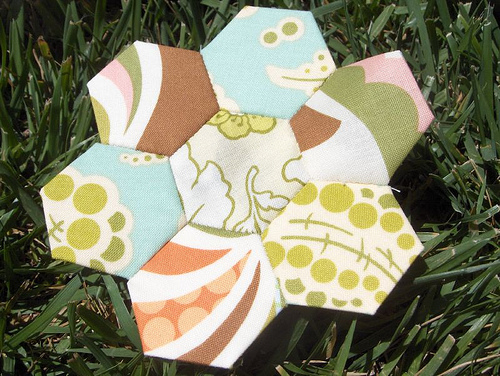
All the fabrics except the white with the skinny yellow stripes in the big flower are from Heather Bailey’s Freshcut line from Free Spirit. I LOVE this fabric!
My big plan for this quilt is to appliqué the flowers onto a solid background and add embroidery to one corner. Pictures coming just as soon as I can make it happen :)
Crafts heather bailey quilting sewing: english paper piecing free spirit freshcut hand piecing hand quilting heather bailey hexagons quilting
by Blabby
3 comments
I’ve been hexed
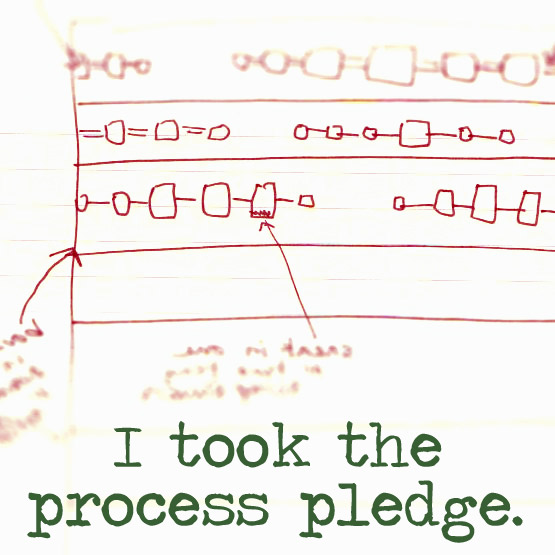
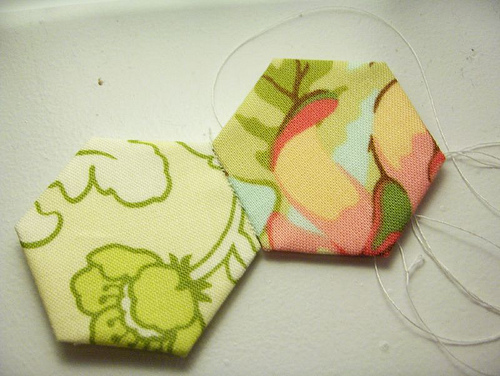
So I’m still plugging away with my hexagons. I posted earlier about the girl that didn’t use paper-piecing - just pieced the hexes together. Well, I tried it, and I have to agree…it’s better. I started with some test fabric…tracing the template onto the back of my hex, pinning the corners, and hand piecing. Then I whip stitched a couple of my paper piece hexes. The end result is that the paper pieced ones look terrible. The stitching is awkward and REALLY shows. I think it has to do with the angle of stitches. Without the paper, I’m hand-piecing in line with the seam line. With the paper in there, I’m stitching perpendicular to the seam line. Make sense? Here are some visual aids…
The main problem I found with the no-paper system is that now I have to plan out my design before I sew. So, I’ve started making flowers. Here’s my first one…
I have no doubt that using the papers is more precise, but it’s also twice the work…we’ll see how it all works out. So far, I like my flower. If you need hexagon templates, you can download them from my download page above!